


It seems easy to migrate PST to Office 365. A lot of teams keep outdated Outlook data in PST files. These files must also go to the cloud when the switch to Office 365 commences. The goal is clear. The new mailbox should have all of your emails, folders, contacts, and calendars.
The problem begins when the migration process isn't well planned. After the transfer, a lot of individuals see two big problems. There are two copies of certain emails. Some emails go missing. Data that is missing or duplicated causes confusion and loss of important records.
This blog post talks about the dangers of PST to Office 365 Migration. It also goes over how to do a manual migration and how a professional solution like software can help with these issues.
Why Duplicate and Missing Data Happen
PST files hold mailbox data from several years. Over time, these files get bigger. There can be a lot of complications when the PST to Office 365 Migration process starts.
Big PST data
The migration process takes longer with big PST files. The process starts over when the upload pauses in the middle. The same information is uploaded again. This makes the Office 365 inbox have two copies of the same email.
The internet connection was interrupted
Moving to the cloud depends on how stable the internet is. Some emails don't upload if the connection drops during the transfer. This causes the Office 365 mailbox to lose data.
PST Files That Are Broken
PST data that is old often gets broken. Some things don't load when Outlook tries to read a corrupted PST file. These things never get moved to Office 365.
Various Attempts to Move
When they think the first transfer didn't work, some teams do the migration again. Every time you try again, the same mailbox items are uploaded again. This makes extra folders, emails, and contacts.
Mapping the wrong folder
Correct folder mapping is necessary for manual migration. Emails go to the wrong places or disappear if folders don't map appropriately.
These hazards are why a lot of migrations end with data that is missing or has been repeated.
Manual Method for PST to Office 365 Migration
You can upload PST to Office 365 by yourself with Microsoft's help. This strategy works, but you need to be very careful.
Do these things.
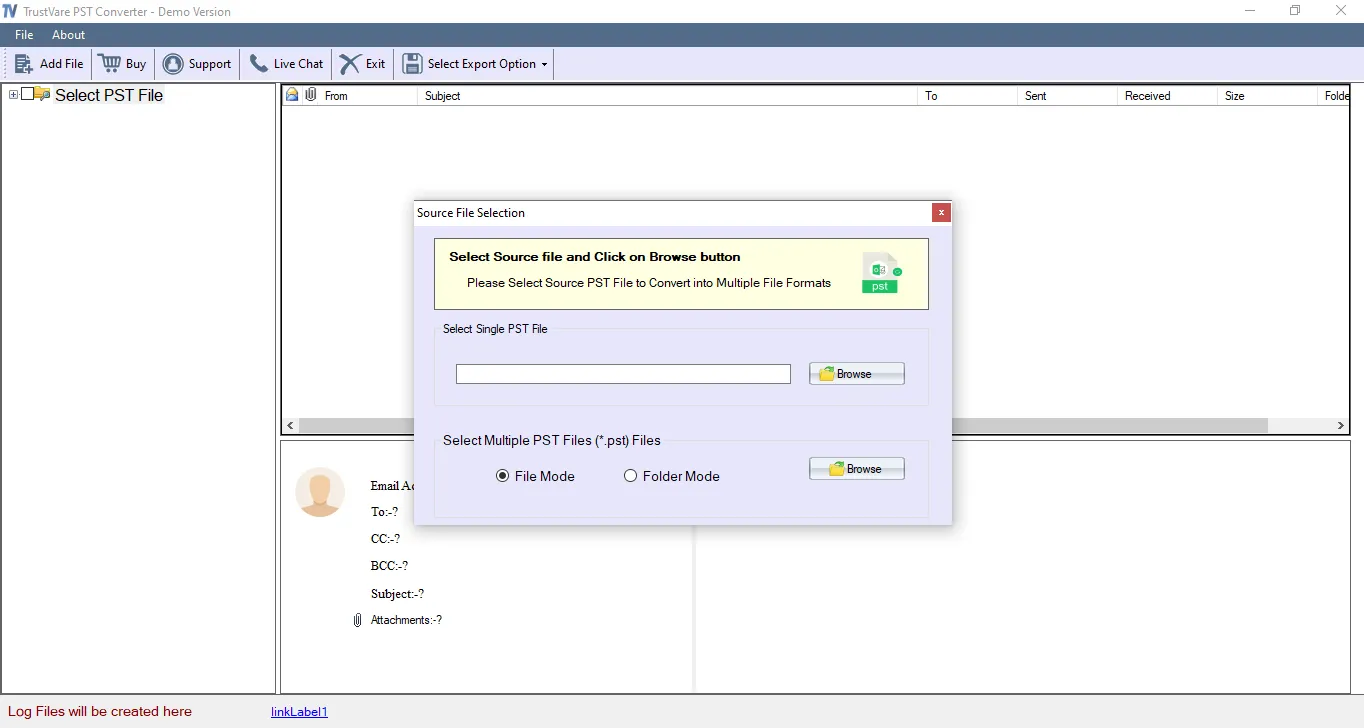
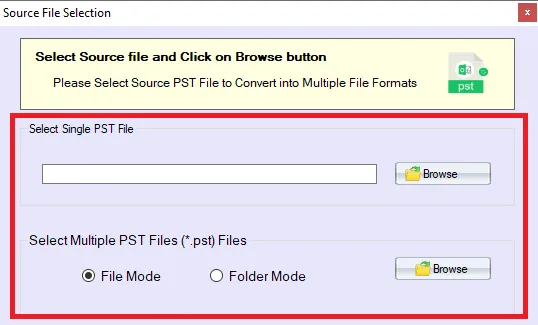
Step 1: Get the PST file ready
Start Outlook on the computer.
Look for mistakes in the PST file.
If the file has problems, use the Inbox Repair Tool.
Step 2: Log in to Microsoft 365
Go to the Microsoft 365 admin centre.
Use the admin account to log in.
Go to the compliance centre.
Step 3: Click on Data Import
Choose the option for managing the data lifecycle.
Pick the section for importing.
Begin a new PST import task.
Step 4: Put the PST file online
Get the Microsoft upload tool.
Put it on the computer.
Put the PST file in the Microsoft storage area.
Step 5: Map the mailbox
Make a CSV file that shows how to map.
Find the right Office 365 mailbox for the PST file.
Put the mapping file up.
Step 6: Begin the Import
Send in the import job.
Give the system time to process the PST data.
Check the contents of the mailbox after you're done.
Problems With Manual Migration
The manual method works, but there are still certain hazards.
- It takes time to do the process.
- Uploading big PST files takes a long time.
- The transfer stops when the network goes down.
- When the import runs again, it makes copies of the items.
- Some emails are skipped when PST files are broken.
You also need technical know-how to do a manual migration. Little mistakes might cause items to go missing from your mailbox.
Because of this, a lot of teams like automated software.
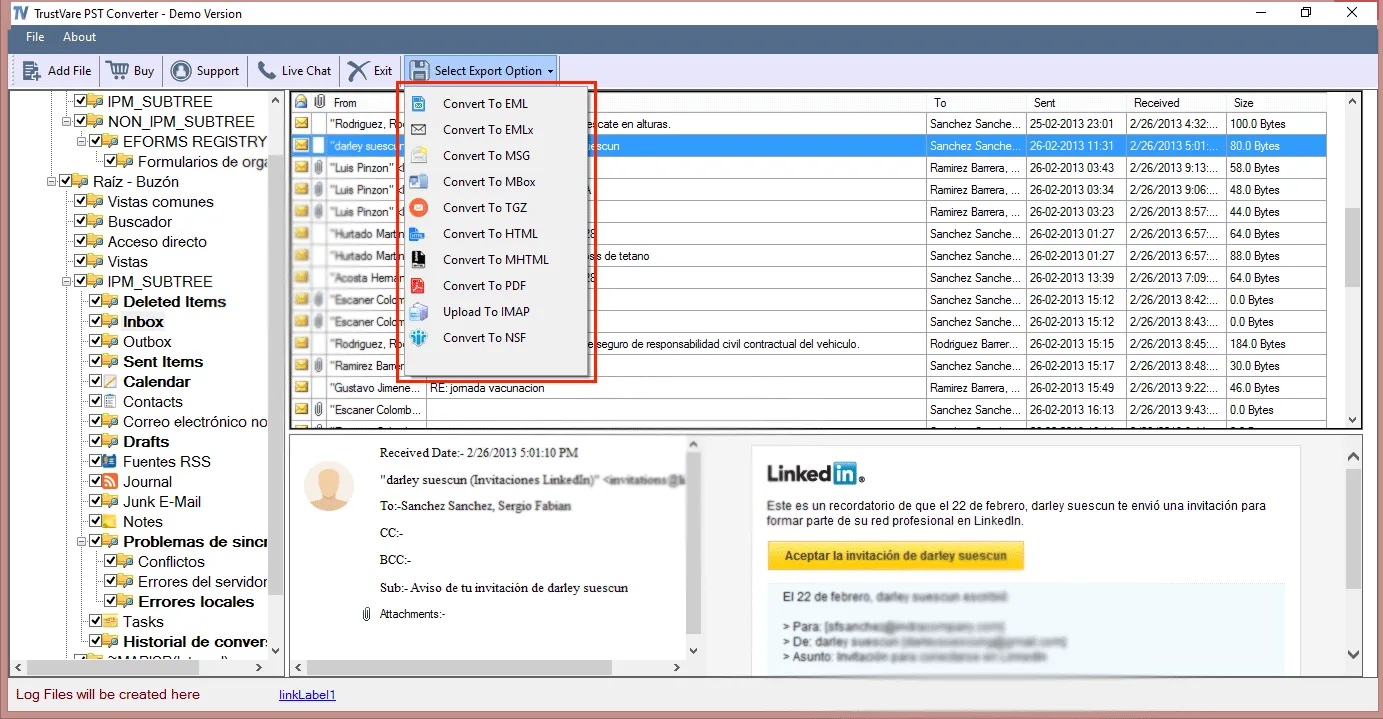
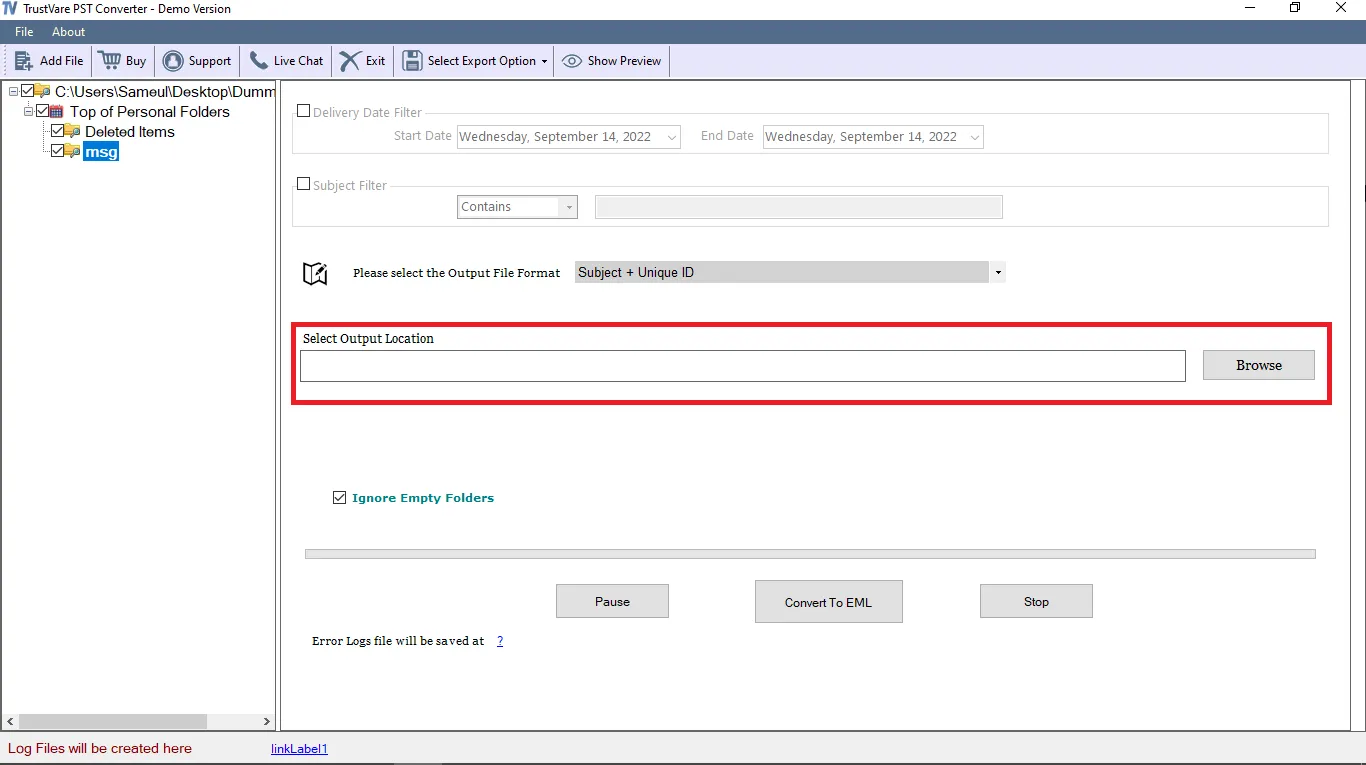
Complete PST to Office 365 Data Migration Solution
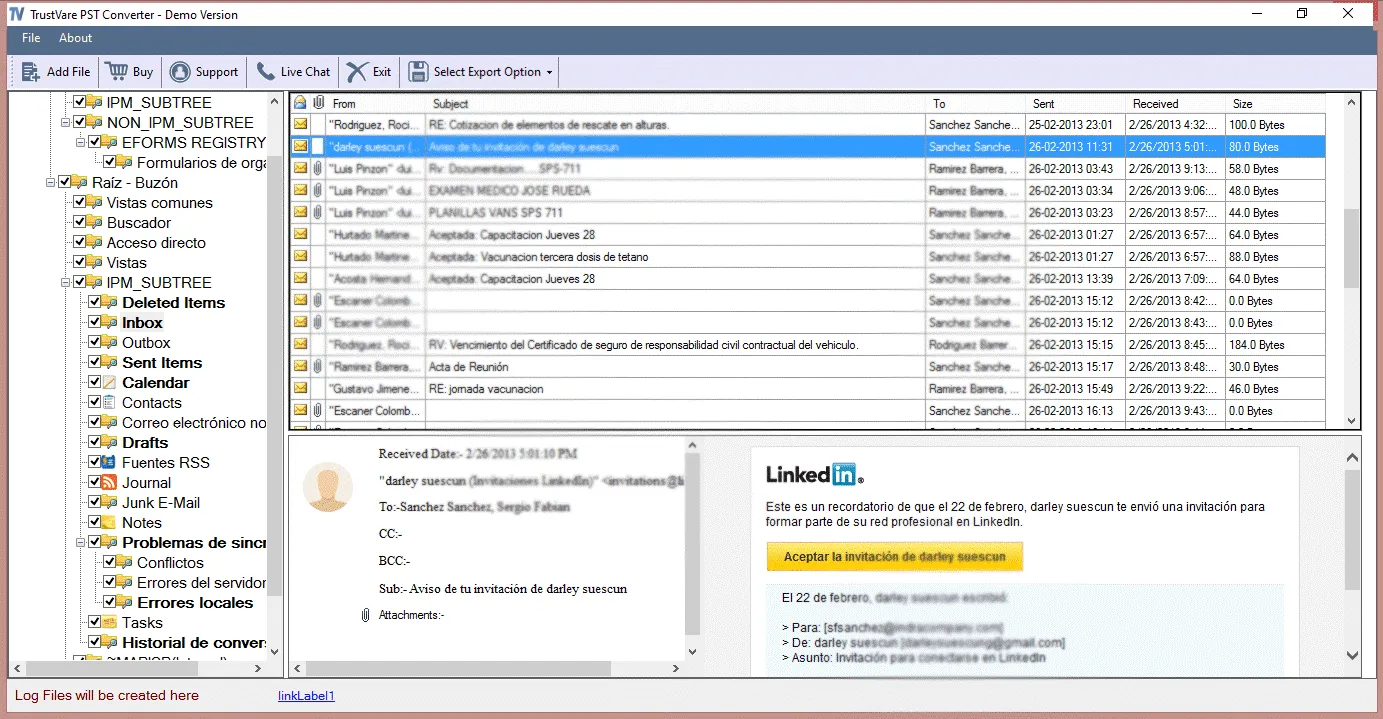
The TrustVare PST to Office 365 Converter is a safe way to move Outlook PST files to Office 365 mailboxes without losing any data. The software sends emails, files, contacts, calendars, and attachments straight to the cloud account. It retains the original folder structure, so everything ends up in the right location after the move.
The software helps keep emails from being sent twice and makes sure that no mailbox data is lost during the transfer. It also works with big PST files and finishes the migration without any problems. The UI stays straightforward, which makes the process easy to follow.
Add the PST file to the software, enter your Office 365 login information, and start the migration. The PST data migrates safely to the Office 365 mailbox in a short amount of time. This solution makes the PST to Office 365 migration process easy and well-organised.
Key Features
Direct Moving
The app connects to the Office 365 account and sends PST data right away. You don't need to upload things by hand.
No data is the same
The utility verifies the contents of the mailbox while it is being moved. It stops you from sending the same email again. This stops Office 365 from having the same data twice.
Full Data Transfer
All objects in the mailbox move safely. Emails, folders, contacts, calendars, notes, and attachments all move over correctly.
Can deal with big PST files
When you move large PST files by hand, they typically break. This software can handle big files without halting.
Keeps the folder structure
The software preserves the folders in the same order. After the move, every email stays in the right folder.
Safe and Correct
The tool keeps mailbox data safe while it is being moved. It makes sure that nothing goes missing from the mailbox.
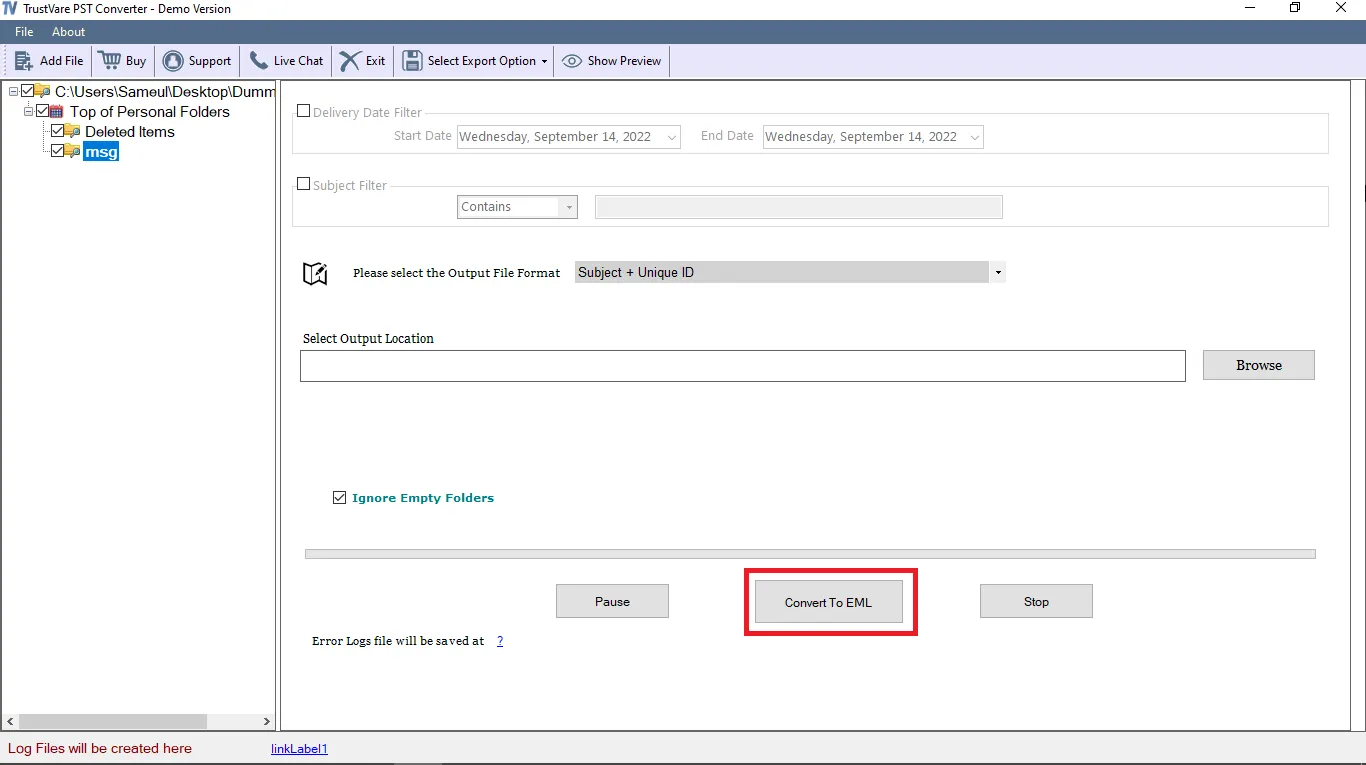
Simple Migration Steps
- Get the PST to Office 365 Migration Tool.
- Put the PST file into the application.
- After you import the file, you'll see a preview of the data
- Type in your Office 365 account login information.
- Choose the folders in the mailbox.
- Begin the process of migrating.
Best Practices to Avoid Data Loss
- Even with software, a little planning can assist make sure the move is safe.
- Check the health of the PST file
- Before moving, always scan the PST file. Before you start the transfer, fix any mistakes.
- Keep a copy
- Keep a copy of the PST file. Backup keeps data safe in case something goes wrong.
- Don't import more than once
- Don't do the migration process again without validating the info that is already there.
- Use a Reliable Internet
- The stability of the internet is important for cloud migration. A solid link keeps things from stopping.
- Check the Mailbox
- Check the Office 365 mailbox after the conversion. Make sure that all of your folders and emails are showing up correctly.
Closing Thoughts
Moving PST files to Office 365 is an important part of modern email management. The procedure enables businesses shift their Outlook storage from their computers to secure cloud mailboxes.
But there are other risks involved in the moving process. It's usual for emails to be sent twice or for data to be missing. These problems occur when PST files are too big, connections are unstable, or migration attempts are made too many times.
Manual migration is a simple way to move data, but it takes time, focus, and technical knowledge. Even slight mistakes might cause problems with data.
The PST to Office 365 Migration software is a safer and easier choice. The software moves PST data directly to Office 365 without making copies or losing any data. It works with big PST files and retains the folder structure the same.
A well-planned migration process makes sure that all of your email contacts and calendar entries get to the new Office 365 mailbox safely.