


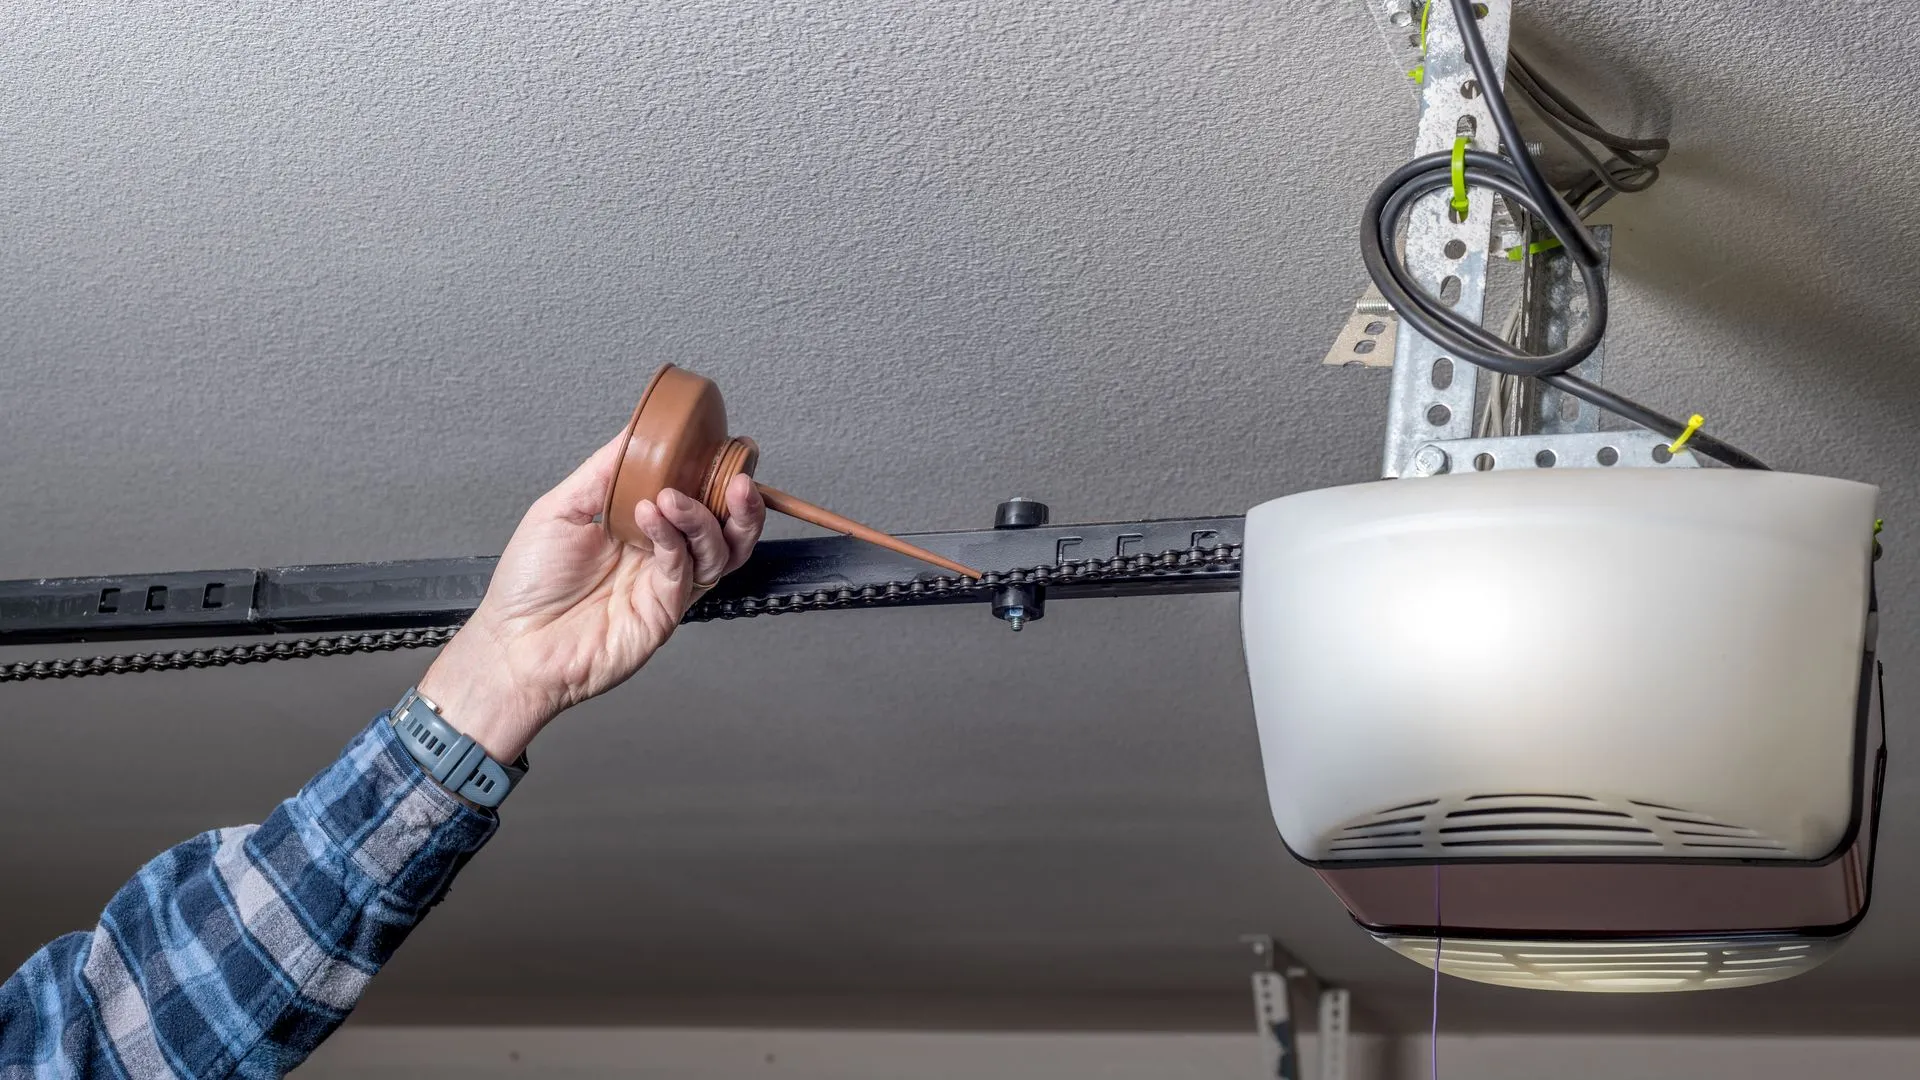
Let’s face it — the garage door is one of the hardest working parts of your home. And when it starts acting up, the cables are often to blame. These steel wires handle an enormous amount of weight and pressure, and over time, they wear down. If you're a hands-on homeowner, you might be wondering: Can I fix garage door cables myself?
The short answer is: yes, but only if you know what you're doing and take the proper safety steps. This guide of garage door repair services breaks it down in simple, human terms — no fancy jargon, no guesswork.
Is DIY Garage Door Cable Repair Safe?
Potential Risks and Dangers
Before you dive into the toolbox, it’s crucial to understand that garage door systems are under high tension. If done wrong, repairs can lead to serious injury or even death — especially if you’re dealing with torsion springs.
When to Avoid DIY
If you're dealing with broken springs, bent tracks, or a severely off-track door — stop. That’s pro territory. The risk of injury skyrockets when tension isn’t properly released or handled.
Tools and Materials You’ll Need
Safety Gear
-
Safety glasses
-
Work gloves
-
Hard hat (if you’re accident-prone)
Basic Tools
-
Locking pliers or clamps
-
Socket wrench set
-
Adjustable wrench
-
Stepladder
-
Winding bars (for torsion spring setups)
Replacement Cables
Make sure to match the cable type to your door system. Use the manufacturer specs or consult the manual.
Types of Garage Door Cables
Lifting Cables
These are the primary cables used with both torsion and extension spring systems. They handle the heavy lifting.
Safety Cables
Found mostly in extension spring systems, these cables prevent springs from flying across the garage if they snap.
Differences Between Torsion and Extension Systems
Torsion systems use a single, tightly wound spring above the door. Extension systems use springs on either side. Cable routing and tensioning differ significantly, so know your system before beginning.
Warning Signs Your Garage Door Cable Needs Repair
Door Won’t Open or Close
If your garage door is stuck halfway, or not moving at all, the cable may be off the drum or broken entirely.
Visible Fraying or Breakage
If you can see steel strands poking out or full-on cable snapping, it’s time for immediate repair.
Slack or Loose Cables
Cables should be taut. If they look droopy or uneven, they’re not doing their job.
Uneven Door Movement
One side rising faster than the other? That's often a sign of cable imbalance.
Safety First: What You Need to Know Before Starting
Disconnecting Power
Unplug your garage door opener. You don’t want it accidentally moving while you’re working.
Securing the Door
Use locking pliers or clamps below the bottom rollers to keep the door in place.
Understanding Spring Tension
Torsion springs are no joke. If you’re working on a torsion setup, make sure you understand how to unwind tension safely.
Step-by-Step Guide to Garage Door Cable Repair
Step 1: Prepare Your Workspace
Clear out vehicles and clutter. Lay out your tools within reach. Ensure the garage is well-lit.
Step 2: Unwind Spring Tension (If Applicable)
Using winding bars, carefully unwind the torsion spring. Never use screwdrivers — it’s dangerous and ineffective.
Step 3: Remove the Old Cable
Unwind the cable from the drum. Disconnect it from the bottom bracket using a wrench.
Step 4: Install the New Cable
Attach one end to the bottom bracket, then run the cable up the door, around the drum, and ensure it winds correctly.
Step 5: Reapply Spring Tension
If you're working with torsion springs, rewind the spring using your winding bars. Double-check everything is tight.
Step 6: Test the Door
Reconnect power. Open and close the door several times. Listen for strange noises and watch for uneven motion.
Common Mistakes to Avoid
Ignoring Tension Safety
Never skip spring unwinding or do it without the right tools. It’s the #1 mistake DIYers make.
Using the Wrong Cable
Using mismatched cables can cause further damage. Always check your door specs.
Skipping Testing
Always test the door multiple times after the repair. Better safe than sorry.
How to Maintain Your Garage Door Cables
Lubrication Schedule
Spray a silicone-based lubricant on the cables every 3–6 months. Avoid greasy, dirt-attracting oils.
Visual Inspections
Check cables monthly for fraying, rust, or slack.
When to Call a Pro
If cables show damage or the door behaves oddly after a DIY job, don’t wing it. Call a technician.
When Should You Avoid DIY and Call a Pro Instead?
Signs of Major Damage
If your door is crooked, loud, or moves unpredictably, don’t risk it.
Broken Springs Involved
Handling broken torsion or extension springs is dangerous — period.
Lack of Tools or Experience
If you’re Googling every step, it might be safer (and cheaper in the long run) to call a pro.
Conclusion
Garage door cable repair isn’t rocket science — but it isn’t a walk in the park either. With the right tools, preparation, and a strong sense of caution, it’s something a handy homeowner can tackle. Just remember: safety first. If anything feels off or overwhelming, call in a pro. No garage door is worth a trip to the ER.
Whether you’re saving money, learning a new skill, or just enjoy fixing things around the house, now you’ve got a solid blueprint to do it right. So roll up your sleeves, stay safe, and get that garage door running smooth again.
FAQs
1. Can I open my garage door if one of the cables is broken?
Technically, you might be able to force it open, but it's a bad idea. Opening a door with a broken cable puts uneven tension on the system, which could bend tracks, damage rollers, or cause the door to fall. If a cable snaps, stop using the door immediately and repair it.
2. How long do garage door cables typically last?
Most garage door cables last 7–10 years, depending on usage, weather exposure, and maintenance. If you open and close the door several times a day, expect the cables to wear out sooner.
3. What’s the difference between torsion and extension spring cable systems?
Torsion systems use a single spring and drum above the door, while extension systems stretch long springs on each side. Each uses a different cable configuration. Knowing which one you have is key before attempting DIY repairs.

 Arabic
 French
 Spanish
 Portuguese
 Deutsch
 Turkish
 Dutch
Dutch
 Italiano
 Russian
 Romaian
 Portuguese (Brazil)
 Greek
Greek